VISAC QuickStart Instructions
This guide is intended to allow people to use VISAC for a variety of
facility vulnerability calculations without getting into the detailed descriptions
of how VISAC actually works. Users who are interested in how VISAC works or
require constructing their own computational models to work with are
encouraged to read the full VISAC Help Pages.
There are several parts to this set of step-by-step instructions:
Creating a New Project
Start a New Project
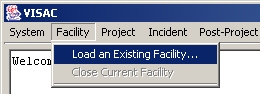
- Select the 'Facility' menu, then the 'Load an existing Facility' option.
- A small dialog will appear listing the various facilities. Choose one by
clicking on it and then click the 'Continue' button.
Notice that the left hand side of the main VISAC window now lists the properties
of the facility in an expandable tree structure. More details
can be shown by clicking on the '+' signs, less details can be shown by clicking
on the '-' signs.
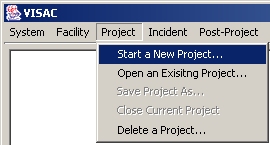
- Now start a new project by selecting the 'Project' menu and the
'Start a New Project' option. Two small dialogs will ask you to
provide a name and a short description for the project.
Notice that the left hand side of the main VISAC window now lists the properties
of this new project, with the facility as one part.
|
|
Add Incidents
- Now you need to describe the attack/incident. Select the 'Incident' menu and
the 'Add an Incident' option.
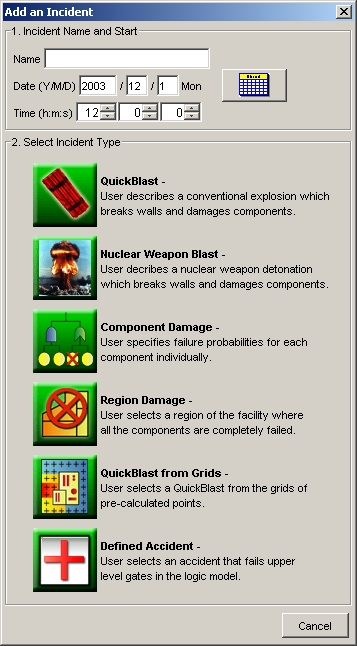
- A small dialog will appear. Here you can specify the name of the incident,
the date and time of occurence and the incident type.
VISAC has five incident types to choose from:
- QuickBlast - User describes a conventional explosion which breaks walls and damages components.
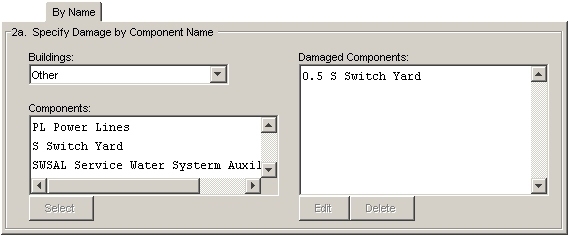
- Component Damage - User specifies failure probabilities for each component individually.
- Region Damage - User selects a region of a building where all the components are completely failed.
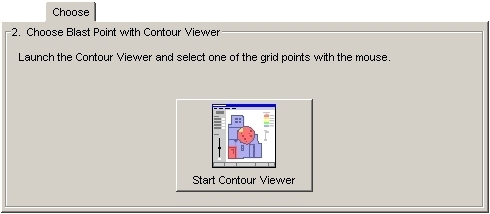
- QuickBlast from Grids - User selects a QuickBlast from the grids of pre-calculated points.
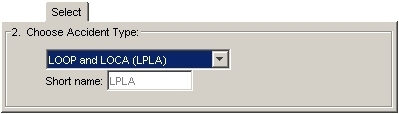
- Defined Accident - User selects an accident from a list.
Details for specifying the details of
each type of incident are given in the next section.
- Selecting one of these incidents will bring up a dialog box with multiple
panes. Each pane specifies some of the information for the incident.
Enter in the required information and then click the 'SAVE' button.
(See the next section for the
required information for each pane.)
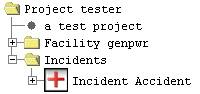
Notice that the expandable tree structure on left hand side of the main VISAC
window now includes the incident that you just completed.
|
|
Next Step
- After each incident is saved, VISAC calculates the major consequences
to the facility. Instructions on how
to view the results of a project are
given in a separate section below.
- Now the user can do many things:
- add more incidents and see the cumulative effect;
- edit or delete incidents and review the results;
- close this project and start another (menu 'Project', option 'Close
Current Project', then menu 'Project', option 'Start a New Project');
- load a different facility (menu 'Facility', option 'Close Current Facility',
then menu 'Facility', option 'Load an existing Facility'); or
- quit VISAC by using the 'System' menu and selecting the 'Exit' option.
|
|
Specifying the Incident Details
 QuickBlast QuickBlast
The 'QuickBlast' incident panel has five tabs which are used to describe
and calculate the effects of a conventional explosion, which breaks walls
and damages components.
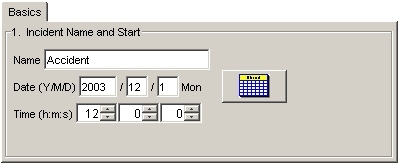
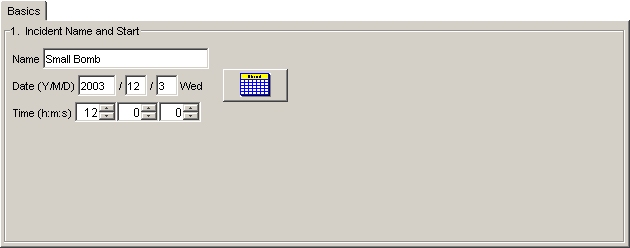
- Basics - Here you specify the name of the incident,
the date and time of occurence. Clicking the calendar icon will
allow you to pick a date from a graphical calendar.
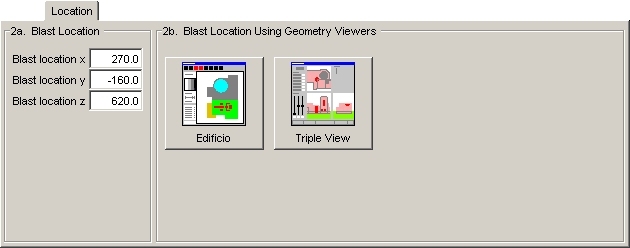
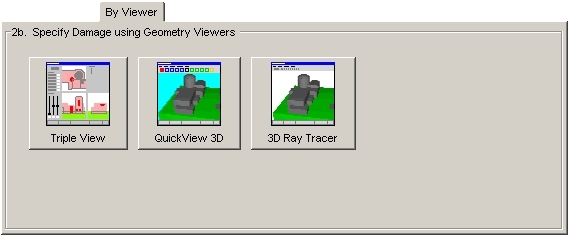
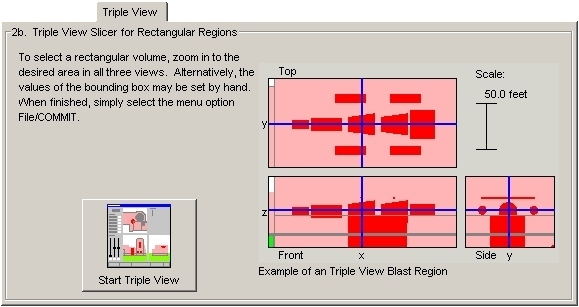
- Location - The user can either specify the location of the blast
or use the geometry displays
Edificio (building editor) or
2D Triple View Slicer
(a plan, elevation and right hand side view) to graphically pick
the blast location.
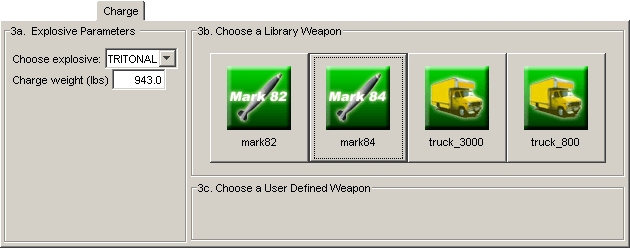
- Charge - The user can either set the explosive parameters individually
or simply select one of the pre-defined weapons by clicking on its
picture.
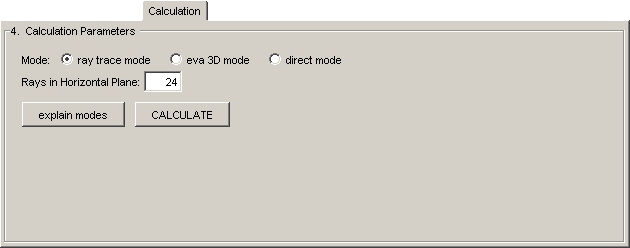
- Calculation - Several parameters for the calculation are set and
then the user should click on the 'CALCULATE' button. The calculation
should normally take only a second or two.
There are three different modes QuickBlast can use to calculate damage:
Ray Tracing Mode -
This works by sending out rays in uniformly in different
directions. Along those rays, walls are broken and critical
components are damaged. With more rays, the damage description
gets more accurate but takes longer to compute. The pressure
of the blast is evaluated on the surface of the component where
the ray strikes it.
EVA-3D Mode -
This mode tries to emulate the EVA-3D methodology
and uses the rays just to
break walls. Critical components in rooms affected by the blast
are then tested for damage by evaluating the pressure of the
blast at the centroid of the component. This mode tends to
break mode components since it can "see" around corners that
the ray trace mode can not.
Direct Mode -
Similar to the ray tracing mode, except that rays are
only thrown out in the horizontal plane and towards the centroid
of each defined critical component. For facilities with small
critical components, this mode may be faster than using the
standard ray tracing technique.
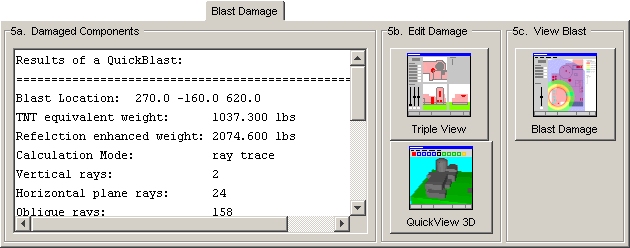
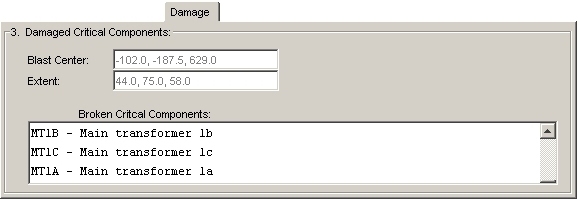
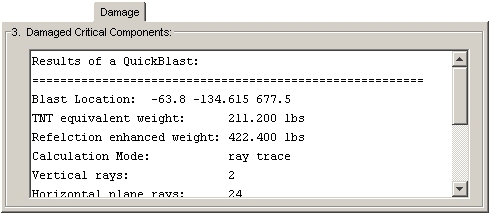
- Blast Damage - Allows the user to see a list of the damaged critical
components. (User must have completed the calculation
on the previous tab before damage can be shown.)
Also allows the user to launch one of the geometry
displays (2D Triple View Slicer or
QuickView 3D)
which will show damaged equipment in a light blue color.
A new option allows the user to launch the
Blastwave Viewer,
which creates a view the plant geometry with a
contour plot of the blast overpressure superimposed on it.
To save the incident as part of your project, click on the 'Save' button.
|
Ray Tracing Mode

EVA-3D Mode
Direct Mode

|
Editing an Existing Project
VISAC allows the user to add, edit and delete the individual incidents of a
project. One cannot change the facility of an existing project -
for that, a new project is required.
Start VISAC
- Start VISAC by either
- double clicking the VISAC icon on the desktop or
- using the 'Start' button, then selecting 'Programs', then 'VISAC',
then 'VISAC'.
- A small dialog will ask what mode of VISAC you wish to use.
Choose 'Operational', then click 'Continue'.
- The main VISAC window will appear. Notice the instructions on
the left hand side.
|
|
Open a Project
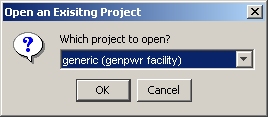
- Select the 'Project' menu, then the 'Open an Existing Project' option.
- A small dialog will list all of the VISAC projects and the facilities
they use. Choose one from the list and then select 'OK'.
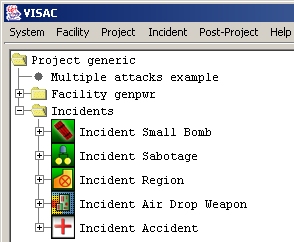
- That project will then be loaded. Notice that the expandable tree
structure on left hand side of the main VISAC window now shows
the project details: the facility used and all of the incidents.
|
|
Edit Project
- To add more incidents, select the 'Incident' menu and the
'Add an Incident' option. The date/time for the new incident can be
before, after or in between the existing incidents - VISAC will sort
them automatically.
- There are several ways to select an incident to edit or delete.
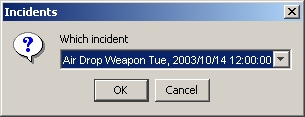
- Select the 'Incident' menu. After choosing one of the options,
a dialog will appear asking you to select one of the incidents.
Choose one and then select 'OK'.
- With the mouse, click on one of the incident names shown in the expandable
tree structure. Then select the 'Incident' menu. The choices
(except 'Add') will then operate on the selected incident.
- With the mouse, double click on one of the incident names shown in the
expandable tree structure. This will bring up a pop-up menu with a list of
choices for that incident.
- After adding, editing, or deleting an incident, VISAC recalculates
the damage of each incident, in date/time order. Instructions on how
to view the results of a project are
given in the section below.
|
|
Results of a Project
VISAC calculates the damage from a given incident, (along with damage
from previous incidents) and computes the probabilities of major consequences
to the facility. There are several ways to view the results.
Viewing Results
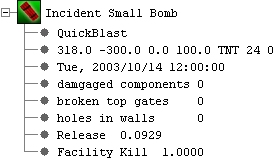
- The most essential results can be shown by clicking on the '+'
sign next to the new incident. This expands the listing in the tree structure.
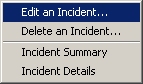
- A summary of the calculation can be viewed by using the 'Incident'
menu and selecting the 'Incident Summary' option. This will give the
probabilities for each possible consequence (usually release types) defined
for the facility. The expected downtime for the facility is also given.
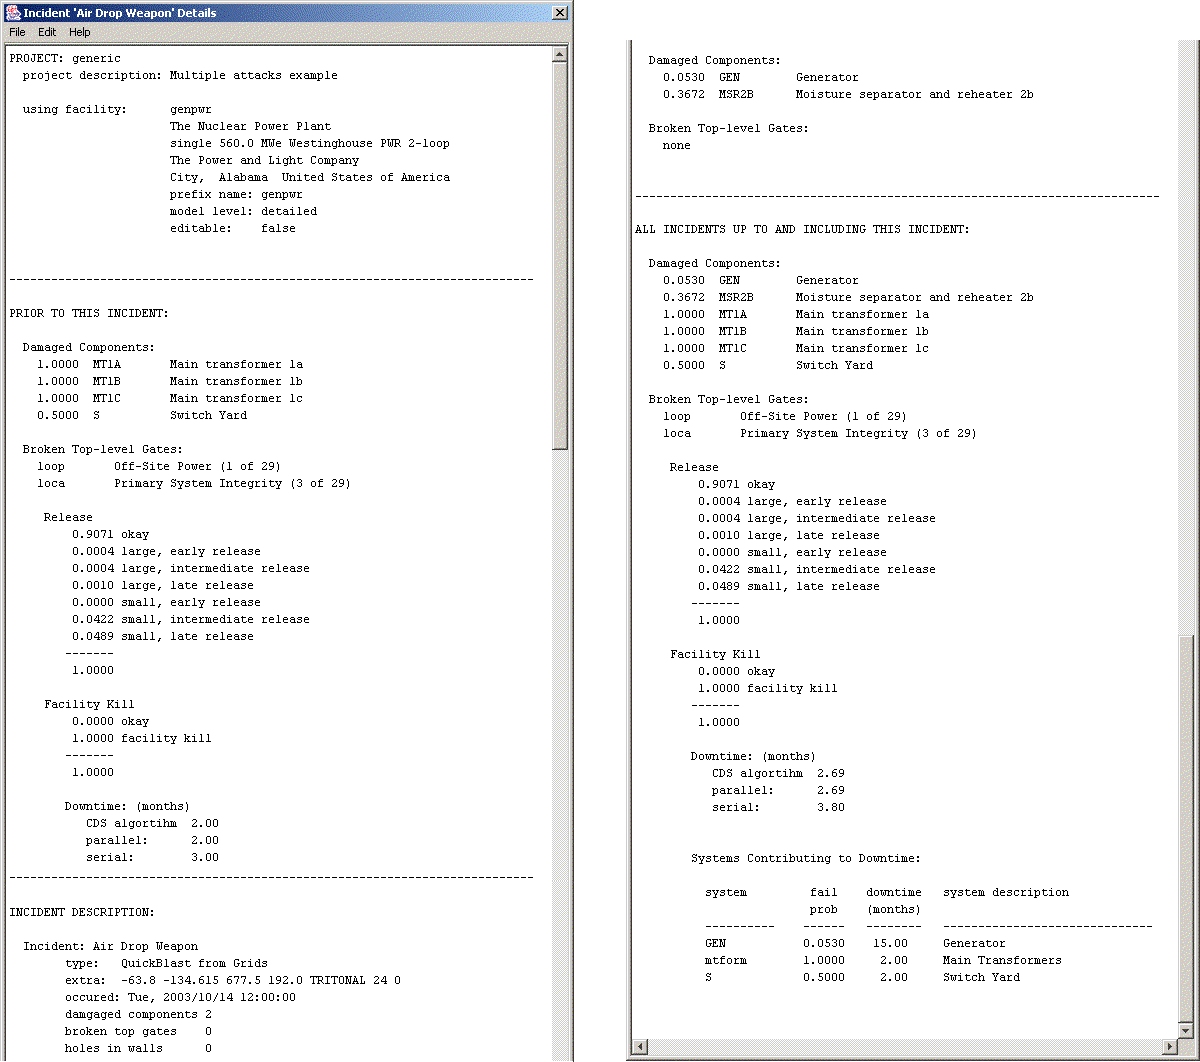
- For more details on what equipment was damaged and what systems are
contributing to the overall downtime, use the 'Incident' menu and select the
'Incident Details' option.
|
|
VISAC Facts
- The results can also be shown by double clicking on one of the incidents
in the expandable tree structure, then selecting from the pop-up menu.
- Highlighting one of the incidents in the expandable tree structure
before using the 'Incident' menu will save the step of having
to choose which incident later.
- Results for a selected incident are cumulative up to that incident. In other
words, damage that resulted in incidents 1 and 2 will be included in the
calculation of consequences in incident 3.
|
|
More Help
- For users who plan to create new facility models or use the other advanced
features of VISAC,
see the full VISAC Help Pages.
- To use VISAC to generate source terms for nuclear facility incidents in
HPAC,
see the full VISAC Help Page VISAC under HPAC (NFAC).
- For more information on the Facility Vulnerability Program at
Oak Ridge National Laboratory,
visit the VISAC Web Site.
Contact Information
Oak Ridge National Laboratory, 2004
Return to the VISAC home page
 on the desktop or


 Component Damage
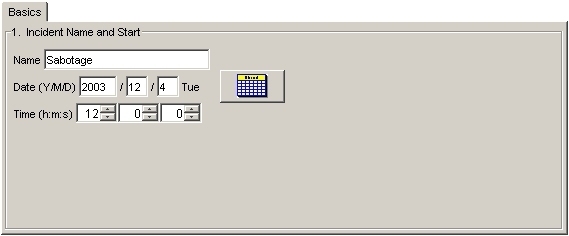
 Region Damage
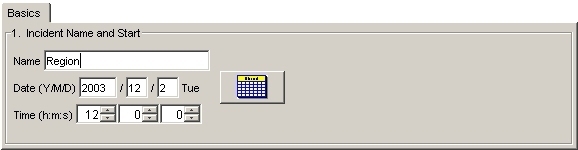

 QuickBlast from Grids
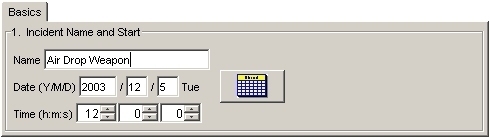
 Accident